Ava Fuselage Repair – 10/16/17
Hi,
I’m in the process of repairing a fuse that was damaged just ahead of the wing saddle. I thought one of you might like to look over the fence at how I’ve gone about the repair.
- I used vinyl tape to frame the repair area well ahead of the damage.
- Next, I used Norton Fine 150 grit to take the repair down to the Kevlar.
- I cut a section of carbon fiber and satin [ed: nylon rip-stop or satin: acts as a breather layer and doesn’t stick to the epoxy] wide enough to cover the repair area and extend over ½ of the vinyl tape front and aft.
- I mixed a small batch of West System epoxy resin and hardener.
- I mixed the two at a ratio of 1 to 5 parts. (3 grams hardener to 15 grams resin)
- I used a ¾ inch artist brush to coat the repair area.
- With rubber gloves on I wrapped the area with the carbon fiber working out the wrinkles as I went along.
- Next, I wrapped the satin patch over the top of the carbon fiber, again working out the wrinkles.
- Next, I wrapped the satin patch with a paper towel cut to fit the repair area.
- All the wraps only extended halfway over the vinyl tape. The vinyl tape is used to frame the repair area and give you a nice straight edge to work with.
- Moving right along, I used vinyl electrical tape, stretched tightly, wrapping the layers of carbon, satin, and paper towel, compressing the patch while squeezing the West System through the carbon fiber and satin into the paper towel.
- The next day I unwrapped the patch and was pleased to see a very tight repair without wrinkles or bulges.
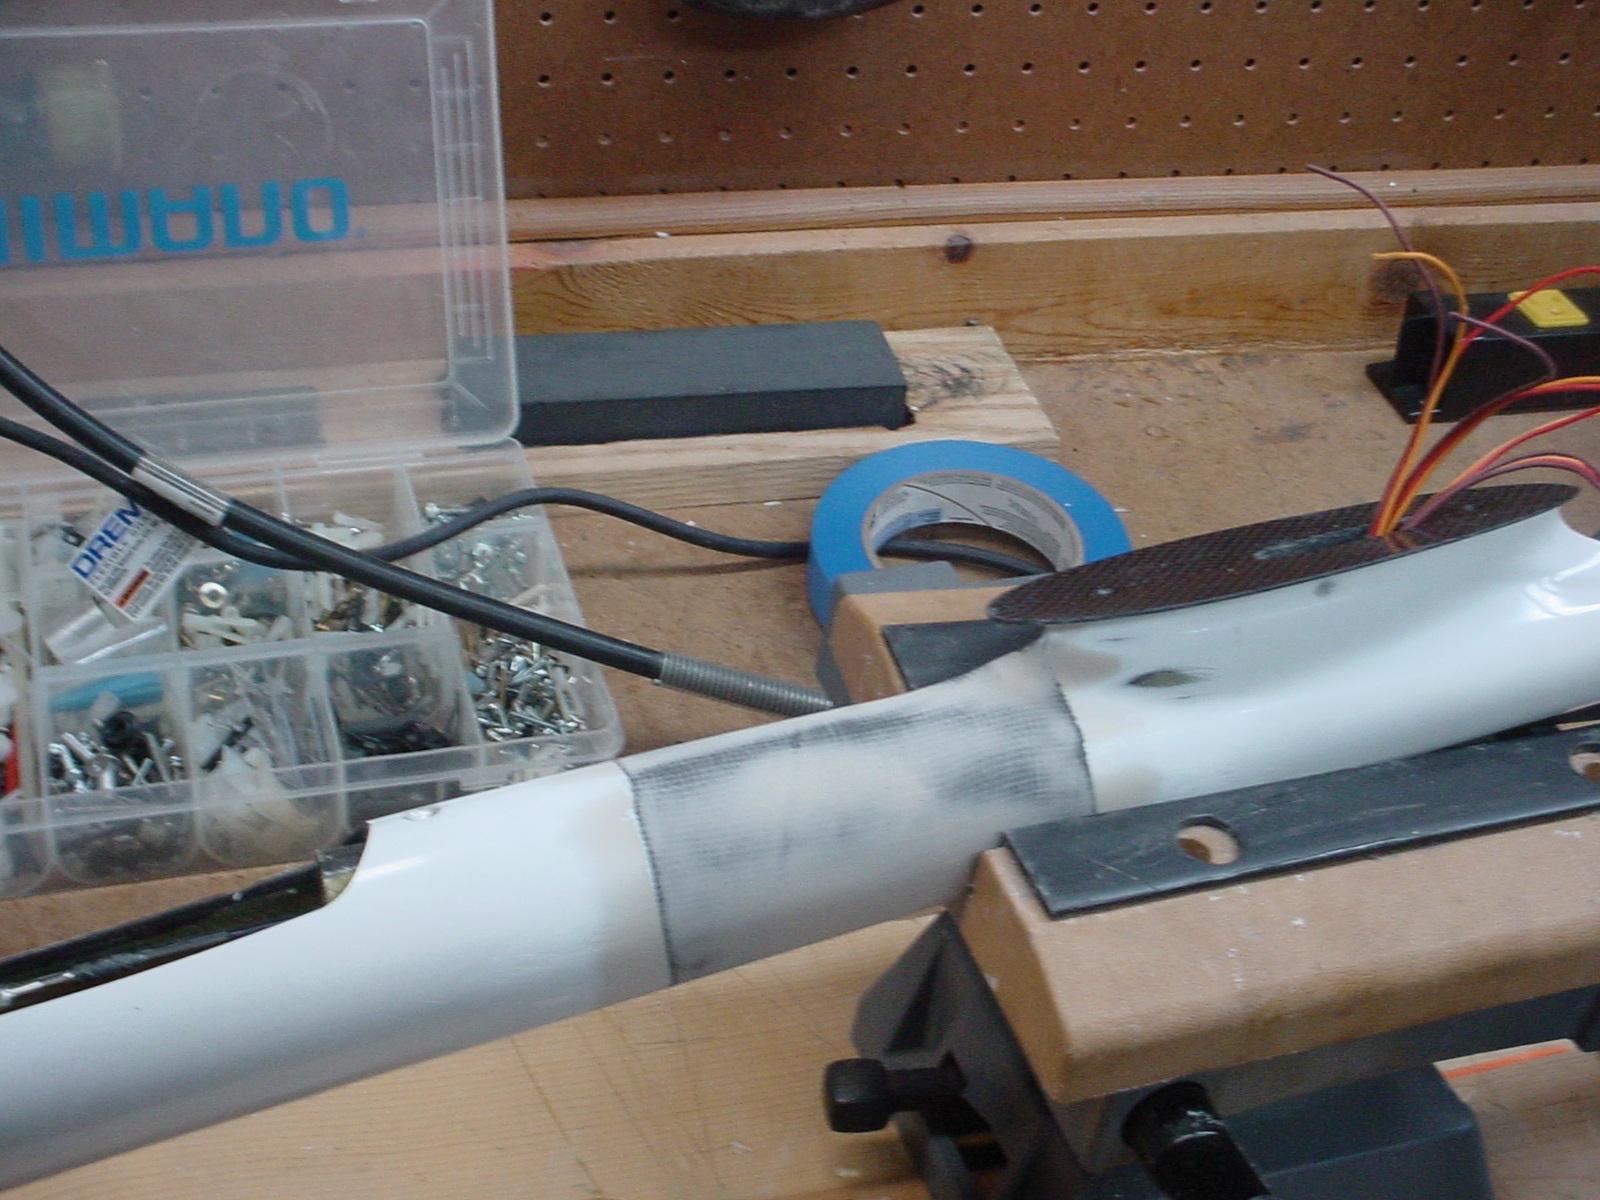
- I used several new razor blades to trim the carbon fiber at the edge of the vinyl tape while lifting the vinyl tape off the fuse. It was a tedious process to clean up around the patched area, but can be done with good results.
- Next, I used Low Oder Mineral Spirits to clean the area of any and all signs of vinyl tape residue. The edges of the carbon fiber and the carbon fiber itself were not as smooth as you can get them. Back to West System for the solution.
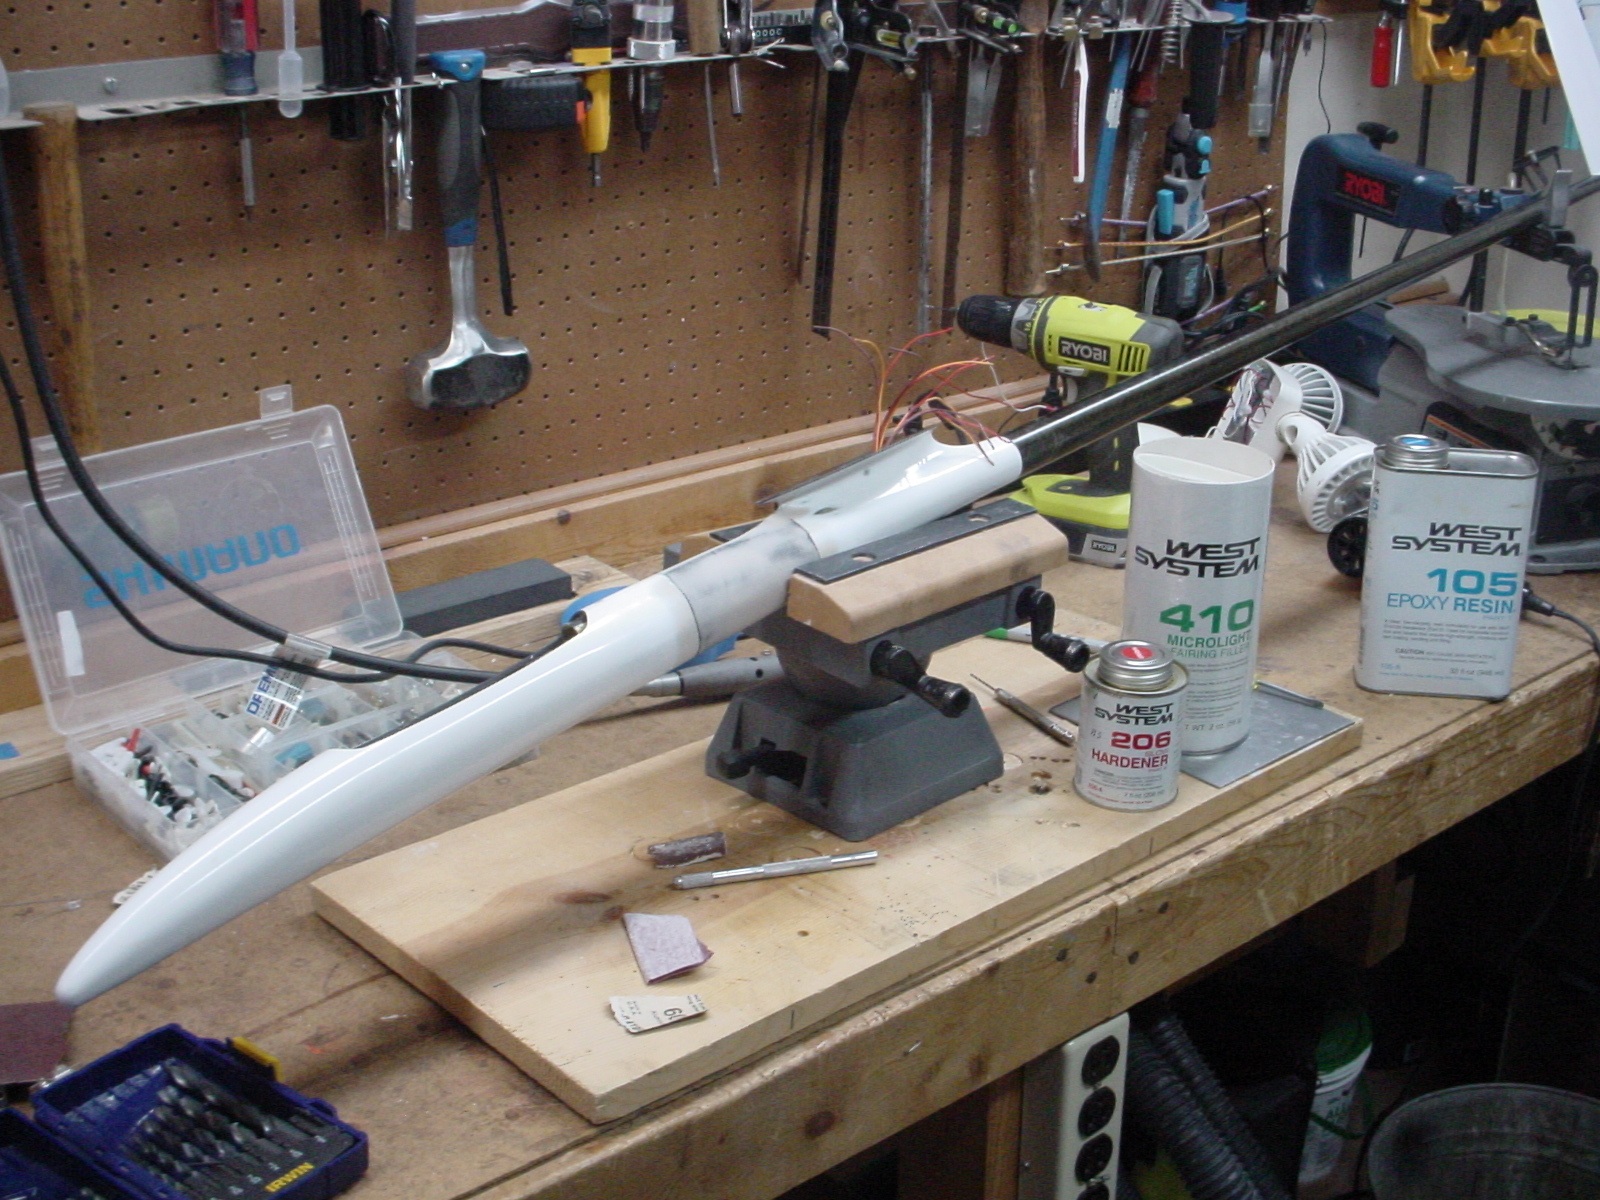
- This time I mixed a smaller batch (2 grams hardener to 10 grams resin) with West System Microlight Fairing Filler added and mixed to the consistency of creamy peanut butter.
- Again, I used an artist brush to coat the entire patch extending ¾ of an inch ahead and behind the repair.
- I let this dry for 24 hours before sanding it with a coarse sandpaper that quickly shapes the repair.
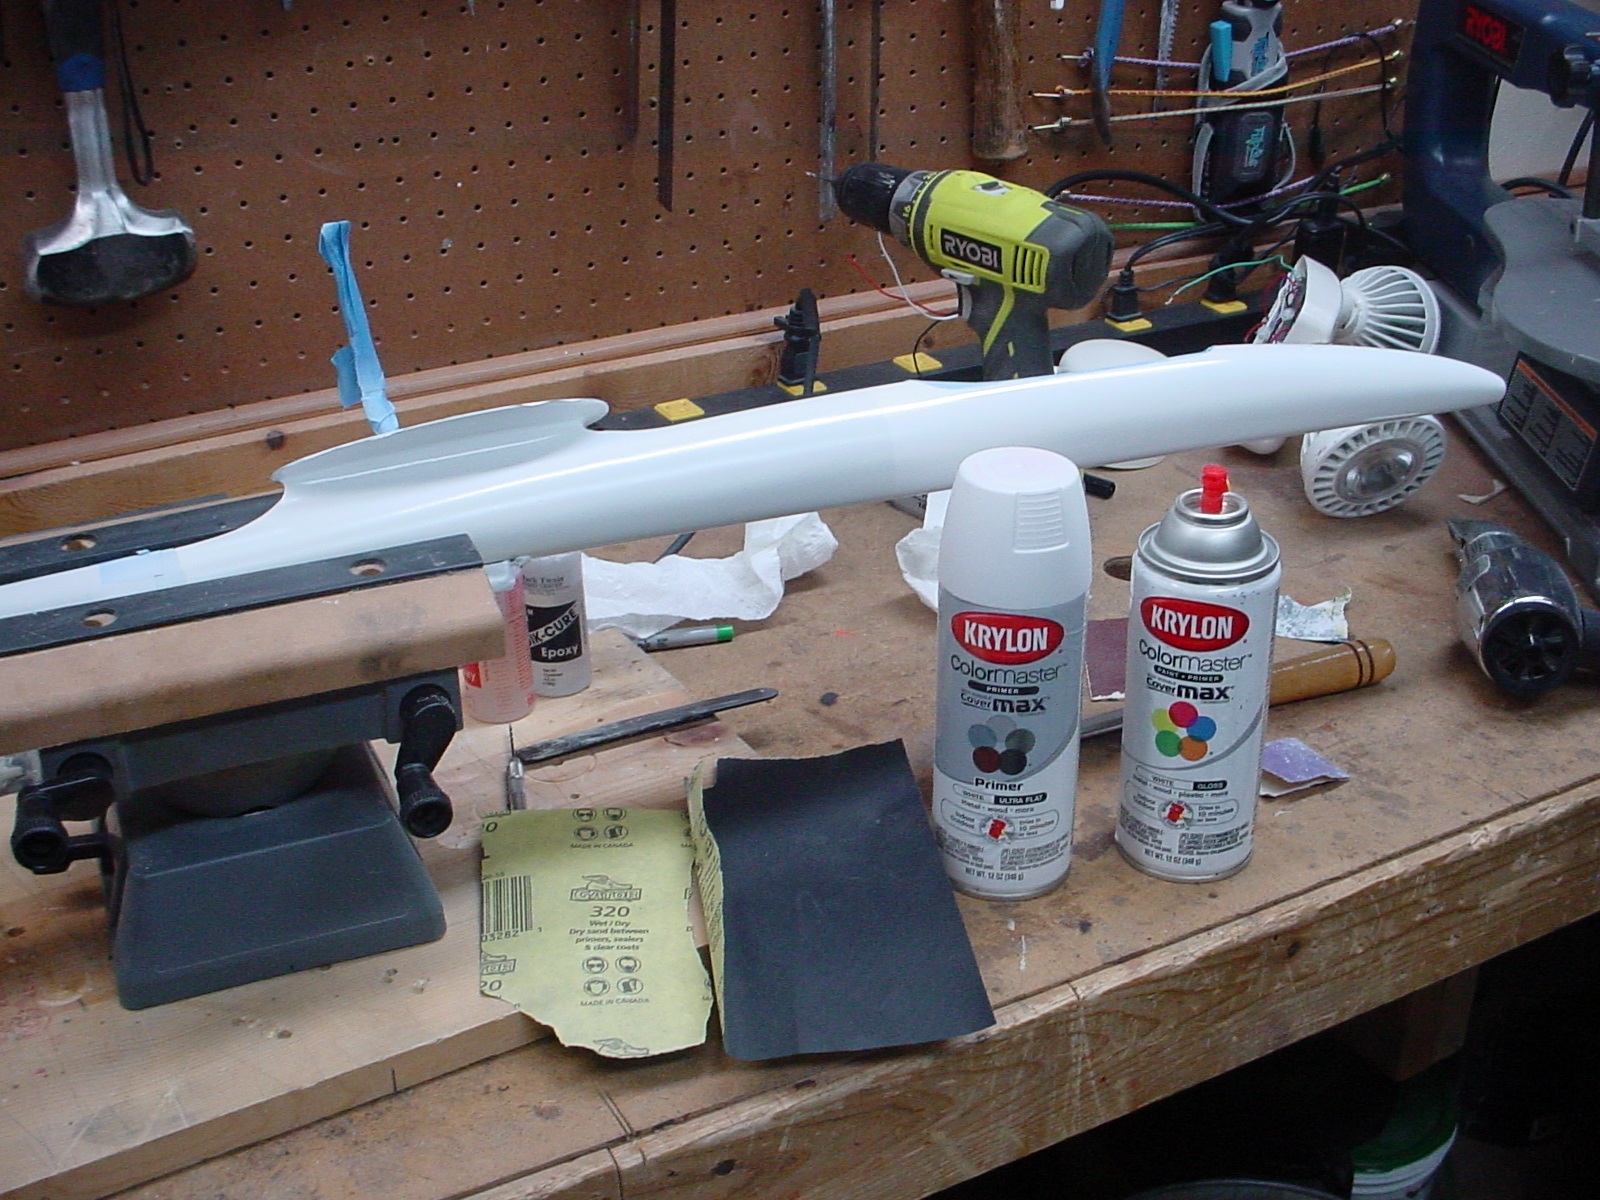
- Finally, I used the Norton fine 150 grit sandpaper to smooth the rough sanded area.
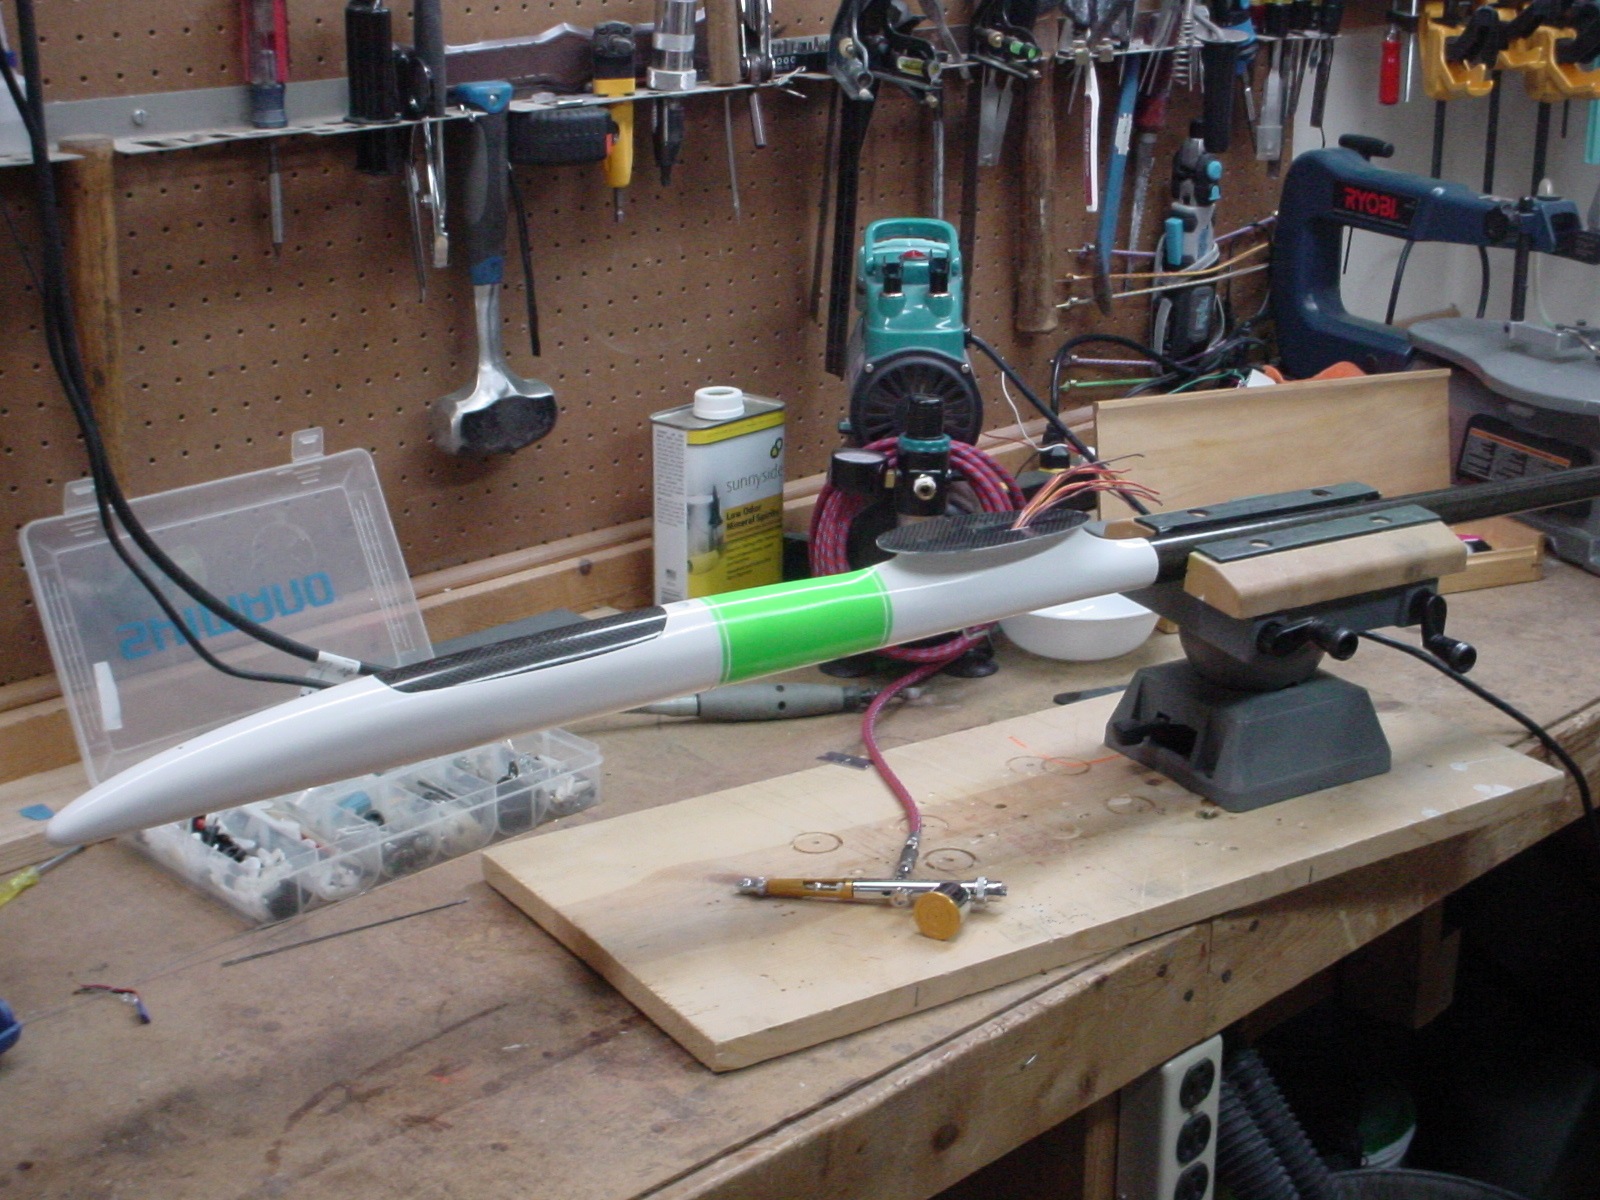
Please find attached two photos that show the repair before I start the final finish process.
John Heienickle


